Fine Motor:
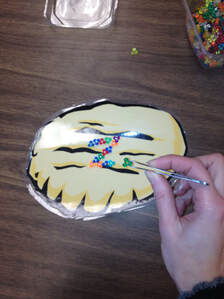
- Decorate Cookies: (Materials Required - Large paper cookie, tweezers, and small plastic beads, mini M & M’s or other small candies) Your child should use the tweezers to pick up the beads one at a time and place them on the cookie. The tweezers should be held between the tips of the index finger and thumb with the closed end of the tweezers pointing out through the child’s web space (round space created when making the “okay” sign with your fingers) rather than hidden inside the palm, similar to the correct way to hold a pencil.
- Modifications:
- Print the cookie off the internet, make it out of construction paper or draw it.
- Allow your child to arrange the beads randomly (easiest) or instruct them to form specific letters, words, shapes, pictures, or patterns.
Handwriting:
- Air Alphabet: Have your child lie on their back on the floor. Instruct them to use their arm or leg to draw specific letters in the air. It is best to teach letters based on how they are formed (letter group). For example, letters c, a, d, g, q, and o all start with a c-curve, so they should be taught together. Monitor your child to ensure they are forming each letter using the correct approach. If they form a letter incorrectly not only do you have to teach the correct way, you also have to unteach the incorrect habit.
- Modifications:
- To decrease difficulty, show your child a model to copy with their arm or leg.
- To decease difficulty, guide your child's arm or leg when forming the letters.
- To increase difficulty, have your child practice forming spelling words, sight words or word wall words that contain the targeted letter(s).
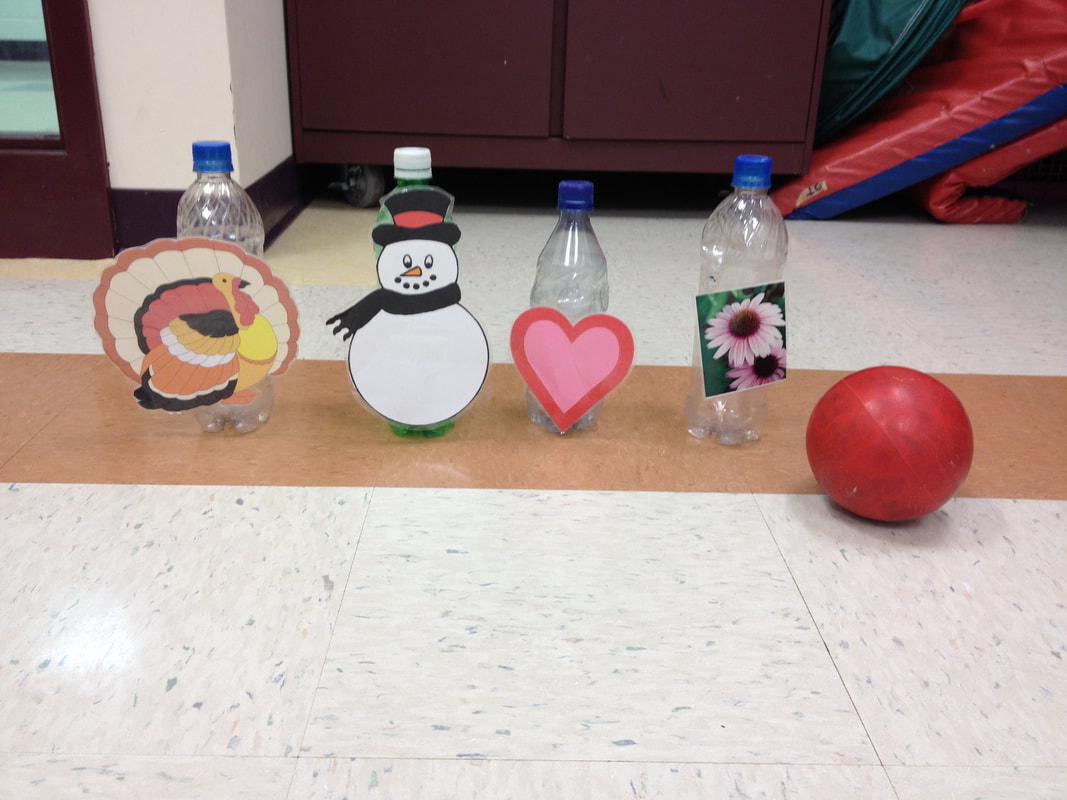
- Bowling: (Materials Required - 6 or 10 empty 12-16 ounce plastic soda or water bottles and a ball (a weighted or heavier ball is best), Optional - velcro and pictures such as flowers for spring. Your child could draw pictures or they could be printed off the internet. Cut out the pictures then place a small piece of velcro on the back of each picture and on the middle of each bottle to attach the pictures to the bottles. Tape could be substituted for velcro.) Set the pins up in a triangular pattern at one end of the room (a row of four pins in the back, then a row of three pins, next a row of two pins, then one pin in the front at the tip of the triangle). Have your child stand at the opposite end of the room and bowl the ball at the pins. If you have more than one child, each child has three rolls to attempt to knock all of the pins down. If a child knocks all of the pins down with less than three rolls, their turn is over. After each turn, reset the pins for the next bowler.
- Modifications:
- The set-up of the pins may be modified from the traditional bowling triangle to increase or decrease the level of difficulty.
- Your child may stand closer or further away from the pins to adjust the level of difficulty or accommodate the room size.
- Allow your child to roll with one hand at their side or two hands between their legs.
- Have your child roll three times every turn, even if they knocked all of the original pins down with the first or second roll.
- Have your child keep score. Older children can write their scores and add to determine their total score.
Keyboarding:
- Continue practicing at typing.com or Typing Agent.
- Continue to practice shoe tying, buttoning, and/or zipping.
- Continue to perform the Chore of the Day/Week.
- Continue to identify your zone and use strategies to adjust as needed.
- For this week, focus on identifying what zone people in your family are in. Help your child identify why they are in that zone: i.e what they are doing, how they are behaving, how they are feeling or other non-verbal characteristics.
 RSS Feed
